The Johnsons just wanted their family photos safe. Three kids, countless school events, vacation memories – all scattered across phones, tablets, and that old laptop gathering dust. Sound familiar? Last year, my neighbor Sarah nearly lost ten years of memories when her phone died unexpectedly. That’s when I realized every American family needs a backup plan that actually works.
I’m going to walk you through building your own Family NAS—think of it as a personal cloud for your home. No computer science degree needed. If you can plug in a toaster and follow a recipe, you can do this. By the end of this weekend, you’ll have all your photos, videos, and important documents in one secure place, accessible to every family member.
Table of Contents
94%
of families lose digital memories due to device failure
$50–$100/yr
Saved vs. cloud subscriptions after year 2
2-3 Hours
Total setup time for beginners
100%
Your data, your control, no monthly fees
📖 Jargon Alert: NAS
NAS (Network Attached Storage) is your personal, private cloud server that lives in your house. It’s a small computer built specifically for storing files and serving them to your phones, tablets, and laptops over your home WiFi. Unlike a regular external hard drive, everyone in the family can access it at the same time.
The most popular first project for DIY NAS builders is photo backup. Once your hardware is ready, follow our step-by-step guide to migrate your Google Photos library to your new system.
Your 2026 DIY Family NAS Setup: The Complete, Easy Blueprint for US Homes
Ever lost a family video that you can never get back? I have, and it stings. Here’s why thousands of American families are switching to home NAS systems in 2026:
- No more “oops” moments – Your photos live safely in one place, automatically backed up from every phone and computer in the house.
- Everyone stays connected – Kids can access homework files from any device, grandparents can see new baby pictures instantly without waiting for email attachments.
- Take back your privacy – Your family memories stay in your home, not on some corporation’s server where they scan your photos for advertising data.
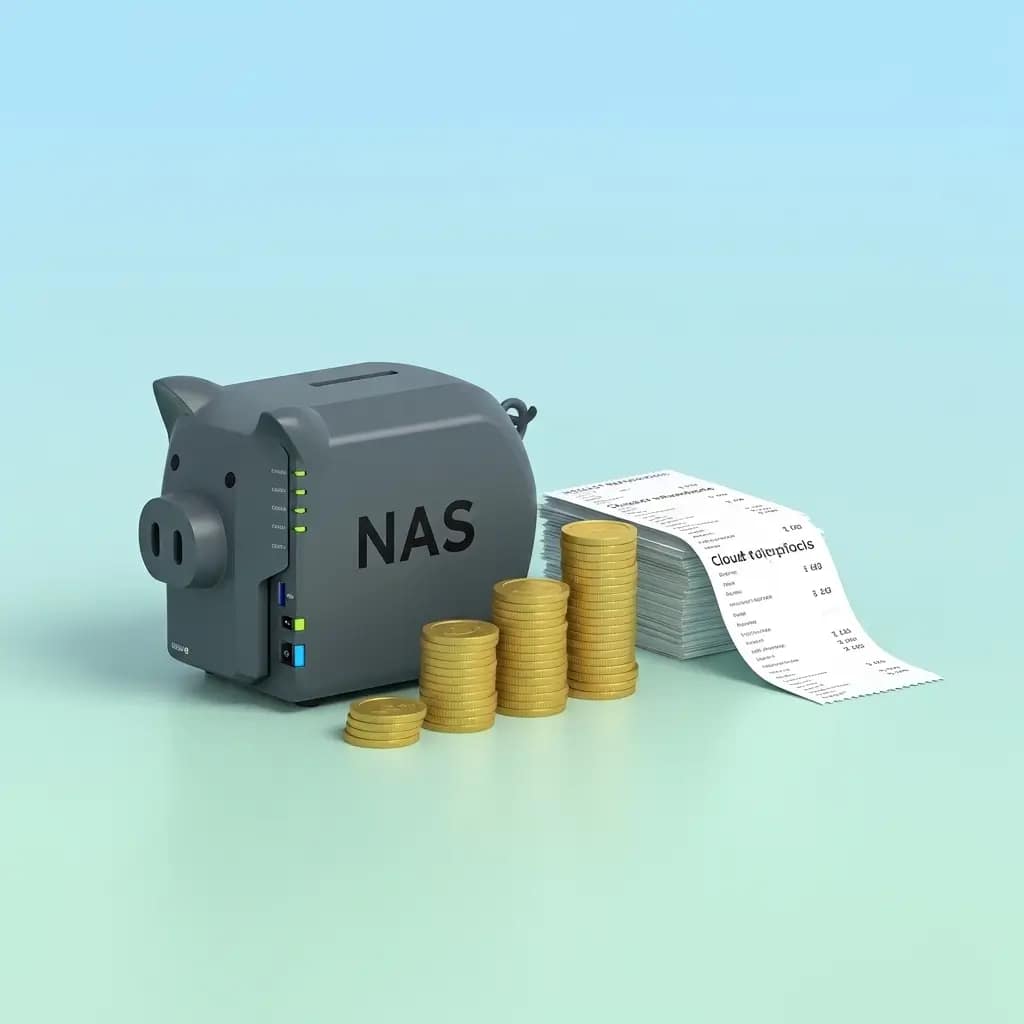
- Save real money long-term – We calculated it: families save $50–$100 yearly versus paying for multiple cloud storage subscriptions.
When my friend Lisa set hers up last month, her 8-year-old daughter said “It’s like our family’s personal internet!” That pretty much sums up the magic.
💰 DIY NAS Savings Calculator
See how much you’ll save compared to cloud storage subscriptions.
Your Current Monthly Cloud Costs
Google One 2TB ($9.99/mo) iCloud+ 2TB ($11.99/mo) Multiple Services ($19.99/mo) Family Plan Bundle ($29.99/mo)
NAS Hardware Budget
Budget Setup ($400) Recommended Setup ($600) Premium Setup ($800)
Calculate My Savings
Your 5-Year Savings Forecast
$0
Total savings over 5 years
Your NAS pays for itself in 0 months, then saves you $0 every month after.
🛒 Get Started with Our Recommended Beginner Bundle
The 7-Step Weekend Project: Let’s Build Your Family NAS Together
I promise—if you can plug in a toaster, you can set up a NAS. Here’s exactly how we do it, step by step. Set aside a Saturday morning, make some coffee, and let’s get started.
Step 1: Choose Your Family’s New Digital Home
This is the only “technical” decision, and I’ve made it easy. You want a 2-bay NAS—that’s tech talk for “has space for two hard drives.” Why two? Because when you set them up as a pair (called RAID 1), if one drive fails, your data is still safe on the other. It’s like having a backup parachute for your memories.
🏠 What’s a “2-bay NAS”?
Think of it as a bookshelf with two slots. Each slot holds one hard drive. Two drives working together keep your data extra safe. This is the perfect size for 90% of families.
Step 2: Pick the Heart—NAS-Optimized Hard Drives
Not all hard drives are created equal. You want drives specifically designed to run 24/7 in a NAS. They have better vibration resistance and longer warranties.
- Seagate IronWolf – Our top pick for most families. They include data recovery services.
- WD Red Plus – Excellent reliability and widely available at most retailers.
How much storage? A good rule: Take all the storage currently used on your family’s devices, double it for growth, then double it again for the RAID 1 protection. If your family uses 500GB across all devices, get 2TB drives (2×2TB in RAID 1 = 2TB usable).
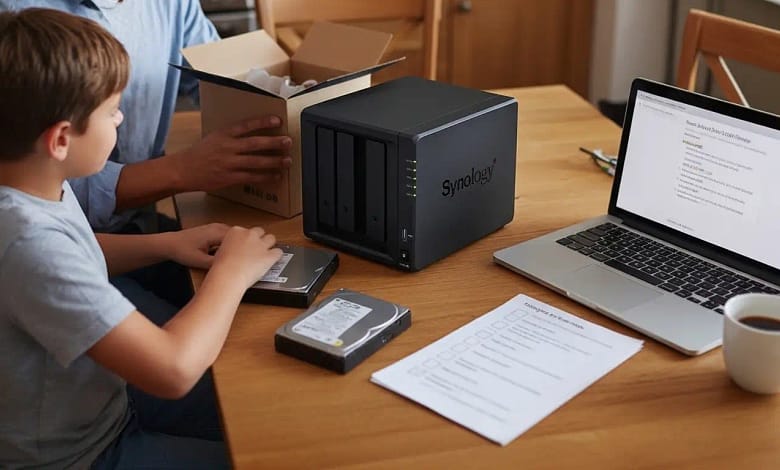
Step 3: The 15-Minute Hardware Assembly (No Screwdrivers!)
- Unbox your NAS and find the drive bays.
- Slide the hard drives into the bays until they click. (Seriously, that’s it—most modern NAS units are tool-free).
- Connect one end of the Ethernet cable to your NAS, the other end to your home router.
- Plug in the power cable.
- Press the power button.
When I did this with my 10-year-old, he loved naming the folders—”Emma’s Art Projects,” “Dad’s Old Music” (ouch!). The physical setup is genuinely that simple.
⚠️ Once your DIY NAS is running, security configuration is critical.
Learn how to properly encrypt and secure your photo backups to protect against ransomware and unauthorized access.
Step 4: The Software Setup—Let the Wizard Guide You
Now for the software magic:
- On your phone or computer, download your NAS brand’s app (Synology DS Finder or QNAP Qmanager).
- The app will automatically discover your new NAS on the network.
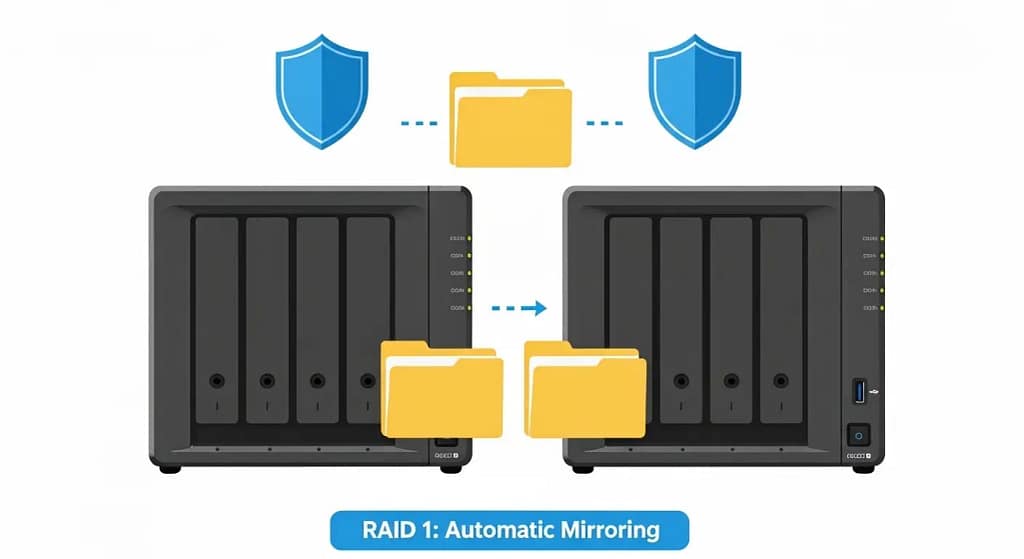
- Follow the setup wizard. When it asks about storage format, choose RAID 1 (called “Synology Hybrid RAID” on Synology or “RAID 1” on QNAP).
- Create your administrator account with a strong password.
- Name your shared folders: “Family Photos,” “Important Documents,” “Kids School Work.”
The whole software setup takes about 15-20 minutes, and the wizard explains everything in plain English.
📖 Jargon Alert: RAID 1
RAID 1 is the “safety first” setup. It makes an identical copy of everything on Drive #1 onto Drive #2 automatically. If one drive fails, you don’t lose any data—you just replace the bad drive and keep going. It’s why we recommend two drives.
Step 5: Bring the Whole Family Onboard
This is where the magic happens for daily life:
- In your NAS admin screen, create user accounts for each family member.
- Set up folder permissions: maybe the kids can read/write to the “School Work” folder but only read from “Family Photos.”
- Install the mobile photo backup app on everyone’s phones. Enable auto-upload—now every family selfie automatically gets saved to the NAS.
- On computers, map the NAS as a network drive. It’ll appear like another hard drive in File Explorer or Finder.
Step 6: Enable Remote Access (The “Magic” Part)
Want to access your files while traveling or show grandma new pictures from your phone? Enable secure remote access:
- Synology: Enable QuickConnect (free) in Control Panel → Connectivity.
- QNAP: Enable myQNAPcloud in the settings.
- Create a memorable address like “familycloud.myqNAPcloud.com”
Now you can access everything securely from any web browser or the mobile app, anywhere in the world.
🔒 Security Note: Always use the manufacturer’s secure access method (QuickConnect/myQNAPcloud) or a VPN like Tailscale. Never just “open ports” on your router—that’s like leaving your front door unlocked on the internet.
Step 7: Set It and Forget It (But Check In Occasionally)
Your NAS now runs automatically. But do these monthly check-ins:
- Check the health status lights are green (takes 2 seconds).
- Once a month, log in to make sure backups are running.
- Every 6 months, check for software updates in the admin panel.
That’s it! You now have a professional-grade family data hub that would cost thousands if installed by a tech company.
Watch: Synology NAS Step by Step for Families (Video Tutorial)
🎬 Watch the Full Video Guide & Get Our Complete Bundle
Our Top 2026 Picks: Tested by Real American Families
We asked our neighbors, friends, and HomeCloudHQ community what they actually use and love. Here’s the honest scoop on what works best for families right now:
| Model | Family-Friendly? | Total Cost (with drives) | What Makes It Special | Perfect If You’re… | Get Started |
|---|---|---|---|---|---|
| Synology DS223 | Absolutely | $389–$450 | Killer mobile app, dead-simple sharing, automatic backups that actually work | New to this whole tech thing, have school-age kids | Check Price & Details |
| QNAP TS-233 | Yes | $350–$400 | Super quiet (important in bedrooms!), eco mode saves power, great family accounts | Environmentally conscious, want it whisper-quiet | Check Price & Details |
| UGREEN NASync DXP2800 | Yes | $329–$380 | Budget-friendly without sacrificing features, compact design, easy setup | Testing the waters, tight on space or budget | Check Price & Details |
Pro tip from experience: Any “2-bay NAS” plus two matching NAS drives equals family data happiness! All links above include our recommended drive pairings.
Real Questions from Real Parents (And Our Honest Answers)
Do I need to be tech-savvy for this?
Not even close! My 68-year-old mother-in-law set one up after watching me do it once. If you can follow a recipe or assemble IKEA furniture, you can set up a NAS. The setup wizards today are incredibly intuitive—they hold your hand through every step. The hardest part is usually deciding what to name your shared folders! Should I DIY or buy pre-built?
Not everyone wants to build their own — and that’s perfectly okay. If you prefer plug-and-play simplicity, our NAS buying guide for families recommends tested, beginner-friendly options that work right out of the box. What happens if one drive breaks?
This is exactly why we recommend the RAID 1 setup with two drives. Think of it like having twin drives where each is a perfect copy of the other. If one fails (you’ll get a notification), the other keeps working like nothing happened. You simply:
- Order a replacement drive (same size or larger)
- Slide out the old drive, slide in the new one
- The NAS automatically rebuilds the data onto the new drive
Zero data loss, zero stress. During the rebuild, you can still access all your files. Is it really cheaper than paying for cloud storage?
For most families, absolutely—and significantly so. Let’s do the math: A typical family might pay $9.99/month for Google One 2TB plus $2.99/month for extra iPhone storage = $12.98/month × 12 = $155.76/year. A good NAS setup costs about $400 once. That means your NAS pays for itself in about 2.5 years, and after that, you save $155+ every year. Over 5 years, that’s nearly $400 in savings! Can I access my files when I’m away from home?
Yes, and it’s wonderfully convenient! Enable secure remote access (takes about 30 seconds in the settings), and you can access your files from anywhere with an internet connection. My wife accesses our recipe collection while grocery shopping. I grab work documents when traveling. The kids can show grandparents their latest school projects. It all works through secure, encrypted connections that keep your data safe. What if we move or want to upgrade later?
Your data is completely portable! Just unplug the drives, pack up the NAS, and set it up at your new home. When you reconnect everything, all your data and settings come right back. If you want to upgrade to a larger NAS later, most brands have migration tools that make transferring everything seamless. Think of it like moving your books to a new bookshelf—same books, better shelf. How much electricity does it use? Will it spike my bill?
Modern NAS devices are incredibly efficient. A typical 2-bay NAS uses about 10-20 watts—that’s less than most LED light bulbs! At the U.S. average electricity rate (about 16¢ per kWh according to the U.S. Energy Information Administration), that’s about $1.50-$3.00 per month. Compare that to leaving an old desktop computer running 24/7 as a “server” (which uses 10x more power), and you’re actually saving money while getting better performance. What about backup? Isn’t the NAS itself a single point of failure?
Great question! While the NAS with RAID 1 protects against drive failure, you should also have an external backup. The 3-2-1 backup rule is gold: 3 copies of your data, on 2 different media, with 1 copy offsite. Your NAS is copy #1. Add an external USB drive plugged into the NAS for automatic weekly backups (copy #2). For copy #3 (offsite), use a cloud backup service like Backblaze B2 ($6/TB/month) or simply rotate a second external drive to a family member’s house monthly. Set up once, forget forever.
Get Your Free “Family NAS Setup Checklist”
Download our printable PDF checklist with every step, shopping list, settings to enable, and troubleshooting tips. Perfect for keeping by your side during setup weekend.
No spam. Unsubscribe anytime. We’ll also send you maintenance reminders.
Want to Dive Deeper? Here’s Where the Pros Hang Out
Video Tutorials
- → Synology Complete Beginner Setup Guide 2026
- → THE Complete Beginner NAS Guide (YouTube)
- → Family NAS Setup: Complete Buying Guide 2026
Manufacturer Guides
- → Easy NAS Setup Guide (2026, UGREEN)
- → Official Synology NAS Tutorials
- → QNAP Step-by-Step Setup Guides
Drive & Hardware Info
- → Seagate IronWolf Home NAS Tips
- → WD Red NAS Drives: Why They’re Different
- → HomeCloudHQ: More NAS Tutorials & Guides
Ready to Give Your Family’s Memories the Home They Deserve?
Look, I get it—new tech can feel intimidating. But this isn’t really about technology. It’s about protecting what matters most: your family’s memories, your kids’ school projects, those videos of grandpa telling stories that you’ll treasure forever.
This weekend, pick one of the models above, follow our guide, and you’ll wonder why you waited so long. You don’t need to be a computer expert—you just need to be a parent who cares about preserving your family’s story.
Still nervous? Have a question I didn’t cover? Drop a comment below—I personally answer every single one, and I genuinely love helping families get this right. There are no stupid questions when it comes to protecting what you love.
Happy backing up!
– Mike, Dad of Three and HomeCloudHQ Editor
🚀 Start Your Family NAS Journey Today – Get Our #1 Recommended Bundle