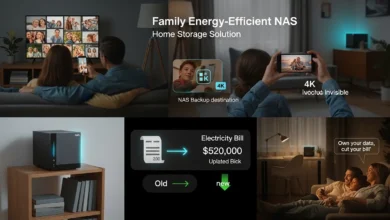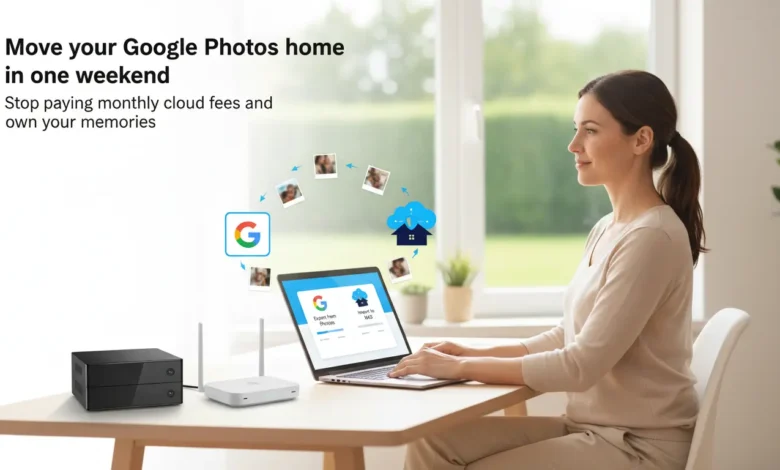
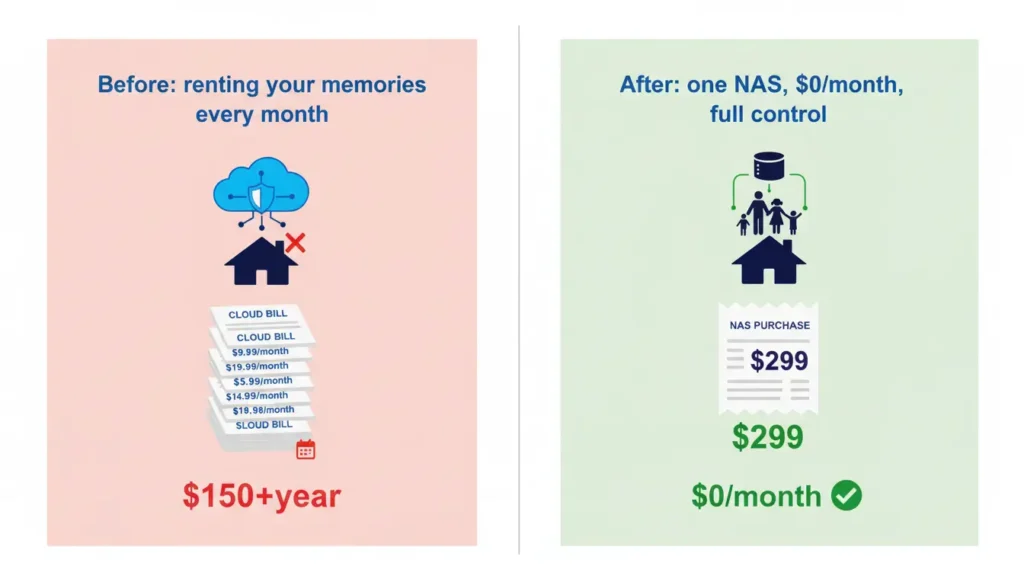
- Turn a $120–$240 yearly Google Photos bill into a one‑time NAS investment with $0 monthly fees.
- Follow a simple weekend workflow: Google Takeout, metadata restore, and upload to Synology Photos or Immich.
- Use the 3‑2‑1 backup rule so your new NAS library survives drive failures, theft, and ransomware.
Stop paying monthly cloud fees — migrate your entire photo library to your own NAS in just a few hours. I still remember the Sunday afternoon I decided to migrate Google Photos to NAS. Eight years of family memories — 12,437 photos to be exact — trapped behind a $9.99/month paywall.
The plan seemed simple: download everything, upload to my new Synology, cancel subscription. Four hours later, I was staring at a folder full of weirdly-named zip files wondering if I’d just made the biggest tech mistake of my life.
Sound familiar? Here’s the thing: migrating from Google Photos to NAS isn’t nearly as scary as it looks. You don’t need to be technical. You don’t need coding skills. If you haven’t chosen the perfect NAS for this yet, our Ultimate NAS Buying Guide for Families will help you pick the right model in minutes. This complete guide walks you through every step — from exporting your photos using Google Takeout to choosing between Synology Photos and Immich, to setting up the bulletproof 3-2-1 backup system that keeps your memories safe forever.
Table of Contents
Why Migrate Google Photos to NAS in 2026?
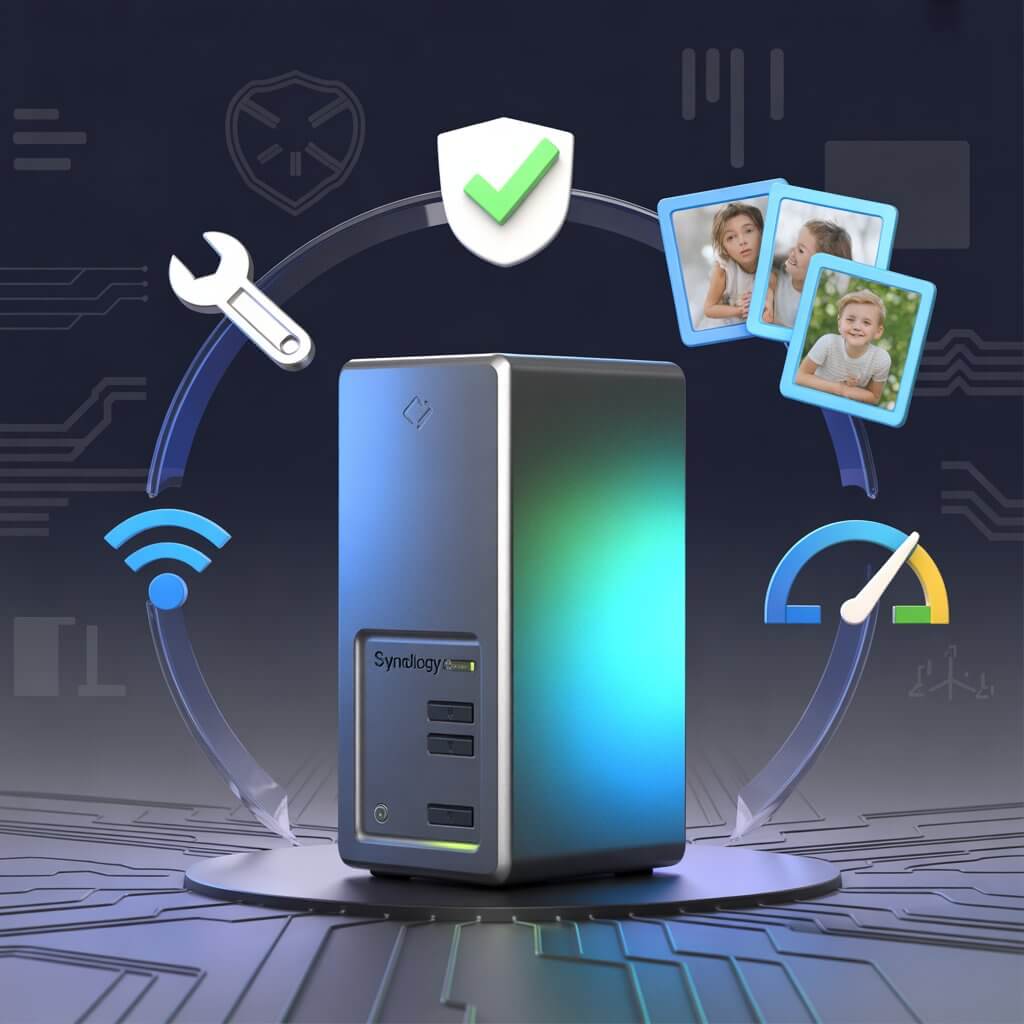
When you migrate Google Photos to NAS, you turn a monthly cloud bill into a one-time investment that you control from home. No more storage warnings, no more price hikes, and complete privacy for your family memories.
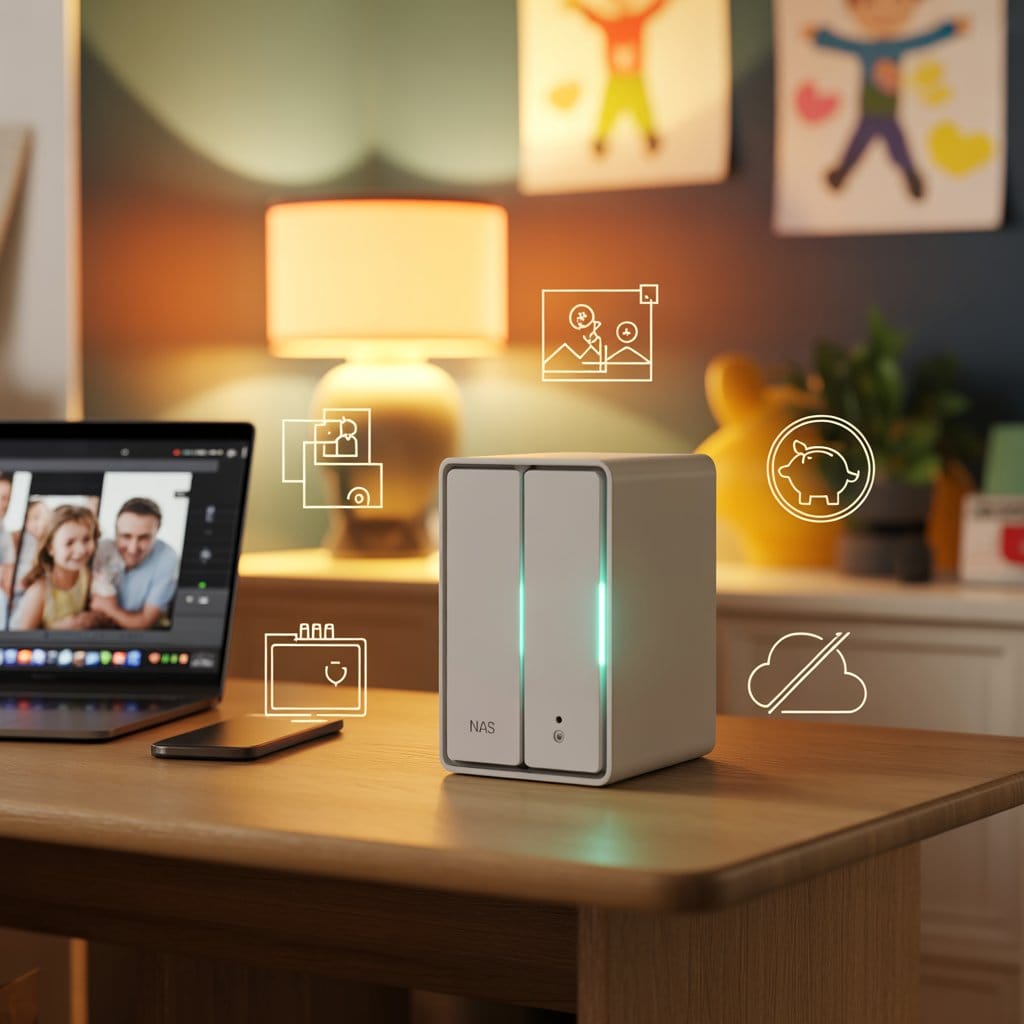
NAS stands for Network Attached Storage — your own private cloud in a small box that lives at home. It plugs into your WiFi router and stores all your family photos and videos without monthly fees.
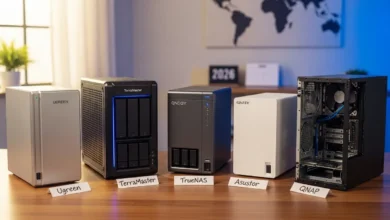
Not sure which NAS device fits your family’s needs? Our complete NAS buying guide for families compares Synology, QNAP, and budget options side-by-side.
What You Need Before Starting
Before you migrate Google Photos to NAS, let’s make sure you have everything lined up. The good news: you probably already own most of what you need to migrate Google Photos to NAS successfully.
Hardware Requirements
You’ll need a NAS device with enough storage for your photo library plus room to grow. Most families migrating from Google Photos have between 5,000 and 20,000 photos — that’s roughly 500GB to 2TB depending on image quality and video content.
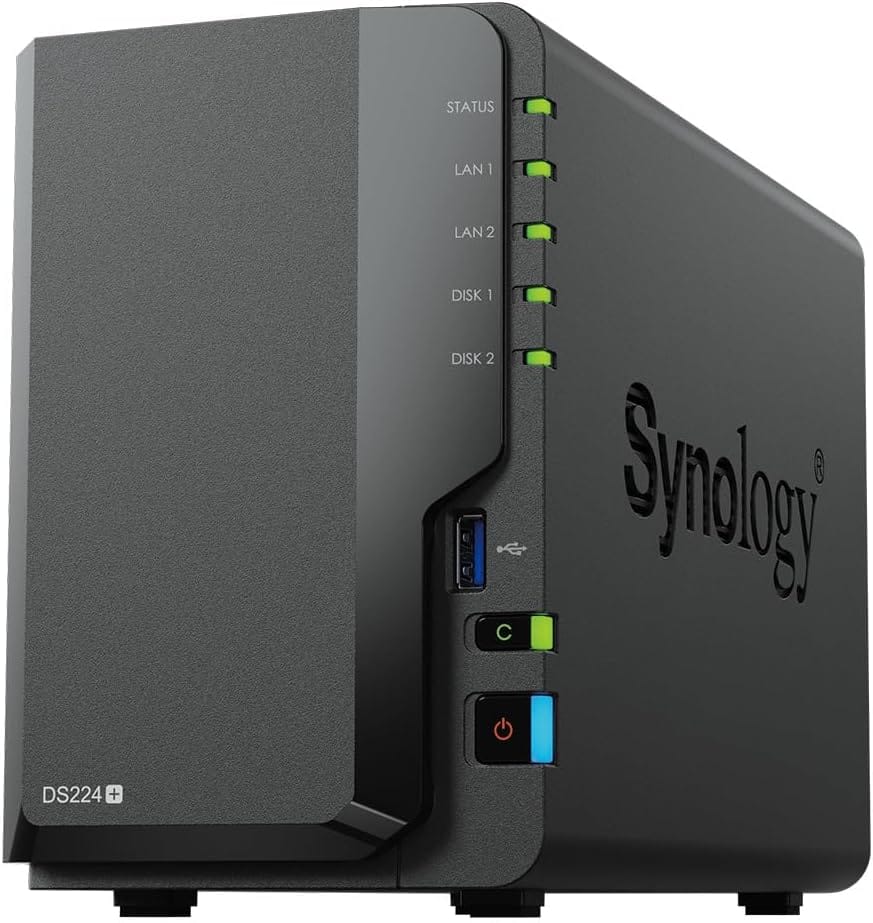
Synology DS224+ (Bundle 8TB) — Perfect for Photo Migration
Entry-level, reliable, DSM OS. Built-in Synology Photos app makes migration stupid-simple. Setup takes 20 minutes.
Synology DS224+ (Bundle 8TB) — Perfect for Photo Migration
Entry-level, reliable NAS with Synology Photos built in. Makes Google Photos migration almost foolproof.
Storage & RAID Protection Explained Simply
Here’s a simple formula: Take your current Google Photos storage usage (find it in Google One settings), multiply by 1.5 to account for growth, then add 50% more for backup redundancy if you’re using RAID 1.
RAID 1 is like writing your diary in two notebooks at once — if one fails, you still have the other. Think of RAID 1 as a permanent, automatic photocopier for everything you save. Write on one page (Drive #1), and an identical copy appears instantly on the other page (Drive #2). If you spill coffee on one notebook, your memories are perfectly safe in the other.
Example: You’re using 800GB on Google Photos → 800GB × 1.5 = 1.2TB needed → With RAID 1 protection, get 2× 2TB drives = 2TB usable storage with full redundancy.
If you’re comfortable with weekend projects and want to save even more, check our beginner’s guide to building a DIY family NAS — many families cut their setup cost in half this way.
Choosing Your Photo Management Software
This is where people get stuck. You’ve got two main options when you migrate Google Photos to NAS: Synology Photos (built into Synology devices) or Immich (a free, self-hosted alternative that works on any NAS). Both make it easy to migrate Google Photos to NAS, but they target different user levels.
Synology Photos vs Immich Comparison
| Feature | Synology Photos | Immich |
|---|---|---|
| Setup Difficulty | One click install | Requires Docker knowledge |
| Mobile App Quality | Excellent (iOS/Android) | Excellent (iOS/Android) |
| Face Recognition | Yes (on-device) | Yes (faster, AI-powered) |
| Auto Backup | Yes | Yes |
| Cost | Free with Synology NAS | 100% free and open-source |
| Updates | Automatic | Manual via Docker |
| Best For | Beginners, families | Tech enthusiasts, advanced users |
Setup Difficulty
Synology Photos: One-click install from the Synology Package Center and you’re ready to import.
Immich: Requires Docker or a similar container setup. You’ll need to be comfortable with basic server commands and updates.
Mobile App Quality
Synology Photos: Polished iOS/Android apps with tight integration into the Synology ecosystem.
Immich: Modern, fast iOS/Android apps with frequent updates and a very clean UI.
Face Recognition
Synology Photos: On-device face recognition, good enough for most families and completely private.
Immich: Faster, AI-powered face and object search with more advanced tagging and filters.
Auto Backup
Synology Photos: Automatic camera‑roll backup from every phone in the family with a few taps.
Immich: Automatic backups as well, with granular control over which folders and albums to sync.
Cost & Updates
Synology Photos: Included free with any Synology NAS, updates handled automatically by DSM.
Immich: 100% free and open‑source, but you’re responsible for Docker image updates and occasional breaking changes.
Best For
Synology Photos: Beginners and busy families who want a stable, plug‑and‑play replacement for Google Photos.
Immich: Tech enthusiasts and advanced users who enjoy self‑hosting and want the most powerful AI features.
Step-by-Step Guide to Migrate Google Photos to NAS
Alright, let’s get your photos out of Google’s hands. This is where most people expect things to go wrong — but it’s actually the easiest part.
Setting Up Your Google Takeout Export
Step 1: Go to takeout.google.com and sign in with your Google account.
Step 2: Click “Deselect all” at the top (you only want photos, not your entire Google history).
Step 3: Scroll down and check only “Google Photos” — this includes all your albums, shared photos, and metadata.
Step 4: Click “Next step” and choose your export settings:
- Delivery method: “Send download link via email” (easiest)
- File type: .zip (universal compatibility)
- File size: 50GB (larger files = fewer downloads)
Step 5: Click “Create export” and wait. Google will email you when it’s ready (usually 2-24 hours depending on library size).
Understanding the Download Format
Use Google Takeout and select only Google Photos.
Save all Takeout archives to your computer.
Run a small helper tool to merge the .json metadata with your photos.
Import the cleaned photos into Synology Photos or Immich.
Here’s what confuses everyone: Google doesn’t give you a neat folder structure. Instead, you get multiple .zip files with names like “takeout-20260115T123456Z-001.zip” containing folders organized by year and album.
📦 Moving House Analogy: Don’t panic. This is normal. Think of it like moving house: Google throws everything (photos, albums, descriptions) into labelled boxes (the .zip files). Your job isn’t to pack, but to carefully unpack the boxes into your new, beautifully organized home (your NAS).
Each photo has a matching .json file with metadata (the invisible info like date taken, location, camera settings).
Metadata is the invisible story attached to each photo: when and where it was taken, which camera you used, and who is in it. The Google Takeout .json files are the instruction manuals your NAS uses to rebuild that story correctly.
Troubleshooting Common Issues
Things rarely go perfectly on the first try. Here are the four problems literally everyone runs into when they migrate Google Photos to NAS — and exactly how to fix them.
“My Photos Lost Their Dates”
Problem: Photos import with today’s date instead of when they were actually taken.
Cause: Google Takeout separates photo files from their .json metadata files. Your photo app doesn’t know to read the .json.
Fix: Use a metadata restoration tool like ExifTool or Google Photos Takeout Helper (free GitHub tool). It merges the .json data back into your image files before upload. Run it on your computer before transferring to NAS.
The 3-2-1 Backup Rule (Your Safety Net)
Here’s the uncomfortable truth: when you migrate Google Photos to NAS, you’re now responsible for backups. Google handled redundancy automatically. You need to do it manually after you migrate Google Photos to NAS. But don’t worry — it’s simpler than it sounds.
🏠 Your Digital Home Insurance: The 3-2-1 rule is your family photo insurance policy. It ensures your memories survive house fires, floods, theft, or accidental deletion. For less than $10/month, you get enterprise-level protection.
🔒 Worried about keeping your migrated photos safe from ransomware?
Learn how to encrypt and secure your photo backups with our step-by-step security guide.
How long does it take to migrate Google Photos to NAS?
Plan for one weekend. Google Takeout export usually takes 2–24 hours in the background, downloading the .zip files takes 1–4 hours depending on your internet speed, and uploading to your NAS takes 2–6 hours for a typical 10,000‑photo library. Your actual “hands‑on” work time is only about 3–4 hours.
Is it safe to migrate Google Photos to NAS if I’m not technical?
Yes. As long as you keep one full backup copy of your Google Takeout export on an external drive while you migrate, you can always restore if something goes wrong. The steps in this guide are designed so non‑technical users can follow them safely.
What’s the best NAS for migrating Google Photos?
The Synology DS224+ is ideal for beginners. It ships with Synology Photos pre‑installed, has enough power for AI face recognition, and the 8 TB bundle version gives most families 10+ years of photo storage with RAID protection. In practice, setup takes around 20 minutes.
Get Your Free Photo Migration Checklist
Downloadable PDF with step-by-step instructions, troubleshooting flowchart, and recommended settings for Synology Photos + Immich.
📧 Get Your Free Photo Migration Checklist
Download a step-by-step PDF + troubleshooting flowchart so you can migrate Google Photos to NAS without losing a single memory.
No spam, ever. You’ll only receive photo backup tips and you can unsubscribe in one click.
Master Your Family NAS: Continue Your Journey Here
Choosing your NAS and migrating photos is just the beginning. To help you get the most from your new family hub, we’ve created these detailed, step-by-step guides. Pick your next step:
🔒 Lock Down Your Memories
Follow our 30-minute security setup to protect your family photos from hackers, ransomware, and accidents with encryption and backups.
🛠️ The Weekend DIY Project
Prefer to build it yourself? Our ultimate weekend guide walks you through a custom DIY NAS setup with no tech skills needed.
Additional Resources
Essential Buying Guides
Security & Backup
Conclusion
For most families ready to migrate Google Photos to NAS, the Synology DS224+ with Synology Photos hits the perfect balance: beginner-friendly setup, rock-solid reliability, and zero monthly fees forever.
🎯 Your Weekend Project Awaits: The migration might take a weekend, but you’ll own your memories permanently. No more storage limit warnings. No more policy changes. No more wondering if a corporation will lock you out of your own life’s moments.
What’s the first album you’ll organize once your migration is complete? Wedding photos? That 2019 road trip you’ve been meaning to relive?