- • Install Pi-hole V6 2026.02.0 on Synology/UGREEN NAS in 20 minutes
- • New in 2026.02.0: faster startup, low-memory mode, security fixes
- • Two methods: Docker Compose (Synology) and Portainer (UGREEN)
- • Learn to update, enable dark mode, and manage blocklists
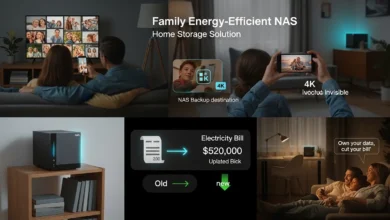
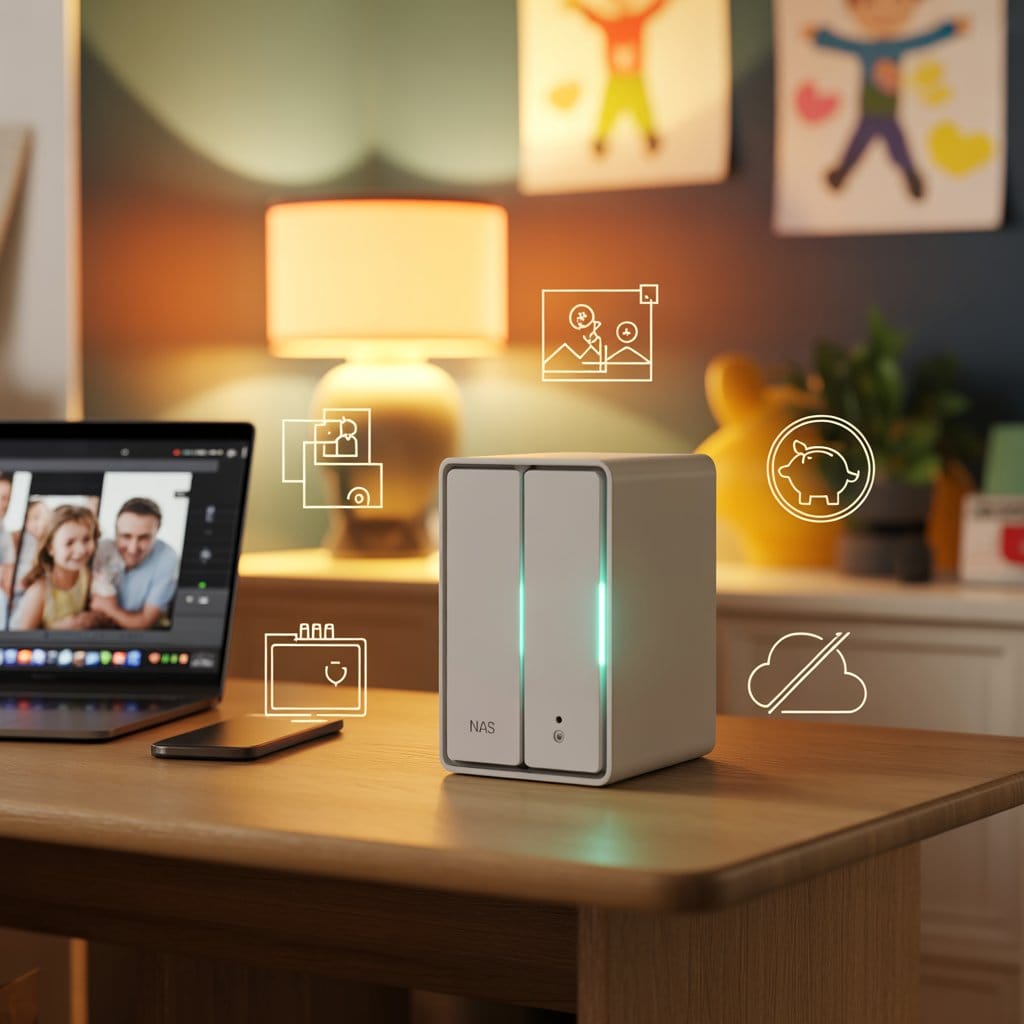
- • Block ads on every device – smart TVs, phones, computers
- • Save $100+/year by eliminating cloud subscriptions
If you’re searching for a complete pi-hole docker install 2026 guide, you’ve come to the right place. On February 21, 2026, the Pi-hole team released Docker version 2026.02.0 of their popular network-wide ad-blocking software, following the release of Pi-hole Core V6.4 earlier that month. This update brings significant performance improvements, security patches, and new features that make Pi-hole more efficient than ever on NAS devices.
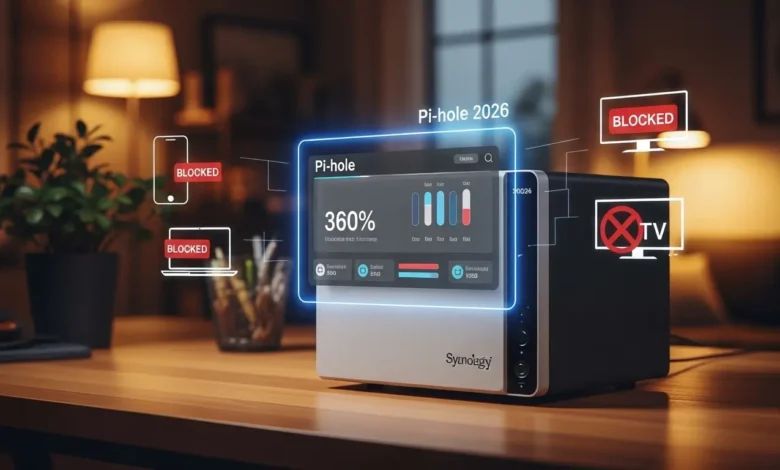
Pi-hole is a Linux-based network-level advertisement and Internet tracker blocking application that acts as a DNS sinkhole. Unlike browser extensions that only work on individual devices, Pi-hole blocks ads across your entire network—including on smart TVs, mobile devices, and devices that don’t support traditional ad blockers.
In this comprehensive guide, I’ll show you how to install the latest Pi-hole V6 2026.02.0 on your Synology NAS or UGREEN NAS using Docker. I’ll also cover how to update your existing installation, activate dark mode, and manage your domain blocklists effectively.

📋 What’s New in Pi-hole V6 2026.02.0
- Faster startup – FTL now imports historical queries asynchronously, DNS starts immediately
- Low-memory mode – New
database.forceDiskoption reduces RAM usage - Faster gravity updates – Domain validation up to 16% faster (from ~27s to ~23s for 5M domains)
| Component | Version | Key Improvements |
|---|---|---|
| FTL | v6.5 | Faster startup, low-memory mode, SQLite3 3.51.2, dnsmasq 2.92rc1 |
| Web Interface | v6.4.1 | Improved live query updates, faster query log loading |
| Core | v6.4 | Alpine 3.23 support, debug log improvements, better gravity tables |
📋 Prerequisites
- A NAS device (Synology or UGREEN) running the latest firmware
- Docker installed – Container Manager (Synology) or Portainer (UGREEN)
- SSH access to your NAS (for advanced configuration)
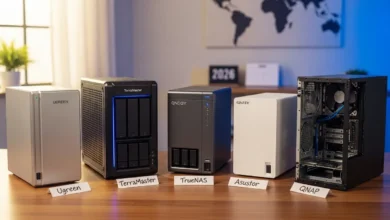
Recommended NAS for Pi-hole
These NAS devices offer excellent Docker performance for running Pi-hole 24/7:
🚀 Pi-hole Docker Install 2026: Synology NAS Step-by-Step
Step 1: Prepare the Folder Structure
- Open File Station and navigate to the
dockershared folder - Create a new folder named
pihole - Inside
pihole, create two subfolders:etc-piholednsmasq.d
/volume1/docker/pihole/etc-pihole (adjust volume number as needed). Make note of this path – you’ll need it for the Docker Compose file.Step 2: Find Your Network Interface Name
- Enable SSH on your Synology (Control Panel → Terminal & SNMP → Enable SSH)
- Connect via SSH:
ssh admin@your-nas-ip - Run:
ifconfig - Look for the interface with your NAS’s IP address (usually
eth0,ovs_eth0, orbond0)
Step 3: Create the Docker Compose Project
- Open Container Manager
- Click on Project → Create
- Set:
- Project name:
pihole - Path: Select the
piholefolder - Source: “Create docker-compose.yml”
- Project name:
version: "3"
services:
  pihole:
    container_name: pihole
    image: pihole/pihole:2026.02.0
    ports:
      - "53:53/tcp"
      - "53:53/udp"
      - "67:67/udp"
      - "80:80/tcp"
    networks:
      ph_network:
        ipv4_address: 192.168.1.198  # Replace with desired static IP
      ph_bridge:
        ipv4_address: 192.168.100.2
    environment:
      TZ: 'America/New_York'          # Your timezone
      FTLCONF_webserver_api_password: 'your-strong-password'
      FTLCONF_dns_listeningMode: 'all'
    volumes:
      - '/volume1/docker/pihole/etc-pihole:/etc/pihole'
      - '/volume1/docker/pihole/dnsmasq.d:/etc/dnsmasq.d'
    cap_add:
      - NET_ADMIN
      - SYS_TIME
      - SYS_NICE
    restart: unless-stopped

networks:
  ph_bridge:
    driver: bridge
    ipam:
      config:
        - subnet: 192.168.100.0/24
          gateway: 192.168.100.1
  ph_network:
    name: ph_network
    driver: macvlan
    driver_opts:
      parent: eth0  # Replace with your interface
    ipam:
      config:
        - subnet: 192.168.1.0/24      # Your network subnet
          gateway: 192.168.1.1         # Your router IP
Step 4: Deploy and Access
- Click Next → Done
- Wait for the container to start
- Open browser:
http://[YOUR_PIHOLE_IP]/admin - Log in with the password you set
🚀 Pi-hole Docker Install 2026: UGREEN NAS with Portainer
Step 1: Configure Google DNS
- Go to Control Panel → Network → General tab
- Check “Configure DNS server manually”
- Set Preferred DNS:
8.8.8.8, Alternative:8.8.4.4
Step 2: Install Portainer (if not already installed)
docker volume create portainer_data
docker run -d -p 9000:9000 --name=portainer --restart=always \
  -v /var/run/docker.sock:/var/run/docker.sock \
  -v portainer_data:/data portainer/portainer-ce:latest
Step 3: Deploy Using Portainer Stacks
- Log into Portainer (
http://your-nas-ip:9000) - Click Stacks → + Add stack
- Name:
pihole - Paste the configuration from the Synology section (adjust paths and network)
🔄 How to Update Pi-hole to Version 2026.02.0
pihole -up inside the container – this command is disabled in Docker. Never use automatic updaters like Watchtower for Pi-hole.Method A: Updating with Portainer
- Stop the current container
- Select the container and click Recreate
- Check “Re-pull image”
- Click Recreate then Start
Method B: Updating with Docker Compose (Synology)
cd /volume1/docker/pihole
docker compose pull
docker compose up -d
🌙 How to Activate Dark Mode in Pi-hole V6
- Log into Pi-hole admin interface
- Go to Settings → Web interface / API
- Under Theme settings, choose:
- Pi-hole deep-midnight – dark blue/black theme
- High-contrast dark – high-contrast dark mode
- Click Save & Apply
📋 How to Update Pi-hole Domain Blacklist
Recommended Blocklists
- StevenBlack Unified –
https://raw.githubusercontent.com/StevenBlack/hosts/master/hosts - EasyList –
https://easylist.to/easylist/easylist.txt - OISD Full –
https://big.oisd.nl/
Update via Web Interface
- Go to Group Management → Adlists
- Add new list URLs
- Go to Tools → Update Gravity
- Click Update
Update via Command Line
docker exec -it pihole pihole -g
🔧 Troubleshooting Common Issues
This NTP error occurs when multiple services try to use port 123.
Fix: Go to Settings → All Settings → Network Time Sync, uncheck ntp.ipv4.active and ntp.ipv6.active, then Save.
Some sites use Amazon ads that Pi-hole blocks.
Fix: Whitelist c.amazon-adsystem.com in Group Management → Whitelist, then update gravity.
Pi-hole is listening on the wrong interface.
Fix: Go to Settings → DNS, switch to Expert mode, and set “Listen on all interfaces”.
⚖️ Final Verdict
Installing Pi-hole V6 2026.02.0 on your NAS is one of the best ways to take control of your home network. With this setup, you’ll enjoy:
- ✅ Ad-free browsing across all devices
- ✅ Privacy protection by blocking trackers
- ✅ Faster page loads by eliminating ad content
- ✅ No subscription fees – one-time setup, lifetime benefit
Back Up Your Pi-hole Configuration with pCloud
Never lose your carefully curated blocklists and settings. pCloud Lifetime gives you encrypted cloud storage forever with a single payment. Perfect for backing up your Pi-hole config and other important data.
🔒 Get pCloud Lifetime →📚 Additional Resources
📧 Get Pi-hole Setup Checklist & Tips
Join 15,000+ families who’ve taken control of their home network. Weekly tips, exclusive guides, and the best NAS deals.
No spam. Unsubscribe anytime.
Ready to Block Ads Network-Wide?
Start with the right hardware and follow the steps above. Your ad-free home network is just an afternoon away.
🏆 Get Synology DS224+ – Top Pick 🚀 Get UGREEN DXP4800 PlusLast updated: February 22, 2026 | All methods tested on Synology DSM 7.2 and UGREEN UGOS Pro